iMap: iSIM building editor
|
| [Overview] [Requirements] [Download Instructions] [Using iMap] [iSIM Homepage] |
Overview
iMap is a building editor program for creating and editing buildings which can be used in the newest version of iSIM. Buildings are layers of floors which contain several rooms, walls, openings, and furnishings. In addition, each room, wall, opening, and furnishing has properties that are used to simulate a realistic environment in iSIM. The buildings can then be used in iSIM to simulate people/robots moving inside a real building. The properties of each room can then affect the agents with the room. |
|
|
|
iMap requires java JRE 1.4.0 to run, and J2SE SDK 1.4.0 to
compile. You can obtain these here. |
Download
Instructions
The newest code to download is located below.
|
|
Once iMap is downloaded and compiled, you can start modifying and creating building maps. iMap will start out with a new building map that contains no floors, rooms, walls, furnishings, or openings. You can use the menu options to load an existing map, start a new map, or save your current map. Once maps have been created, you will want to place them into your iSIM directory in order to use them in iSIM.
With an existing map, you can double-click on any object or inside a room, to bring up a properties dialog window. You can then edit the properties of the object such as temperature, visibility, oxygen, rf degredation, transparency, and so on as seen in Figure 1. Any changes you make to the properties will be saved to map, but you must do a menu-save to save the map itself. Likewise, you can also move an object such as a wall, opening, or furnishing. If you single-click an object, you will see cross-hairs on the corners of the objects. You can click-and-drag those cross-hairs to move the object as in Figure 2.
When you make you own map, there is some steps you will have to follow. The building map is represented as in Figure 6. So when creating a building map, you must use the tool tray shown in the upper right corner of Figure 3. You first add floors to you building. Next you select a floor from the table, and then you can add rooms to the floor as in Figure 4. Then you similarly select a room, and then you add walls and furnishing to the room. When adding walls and furnishings, however, you will be prompted to draw the object on the map as in Figure 5. You simply click-drag to create an object. Once you are satisfied with the object you can click the ADD button. Lastly, you can select a wall, and then add openings to it such as doorways and windows. Note, when adding a doorway or window, it must be on the wall which it is being added to. |
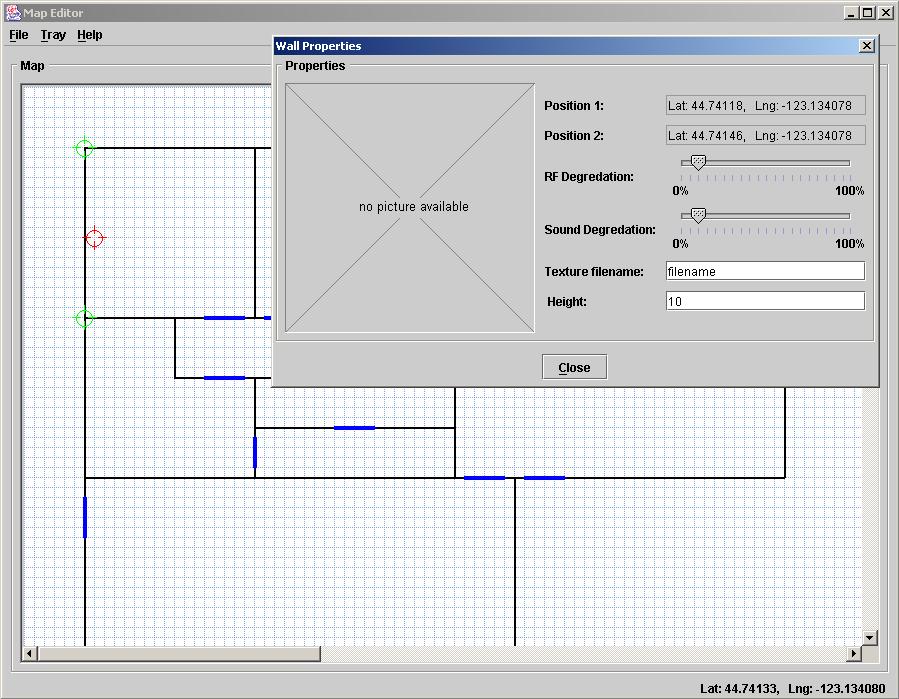 Figure 1. iMap with the properties window for an object. |
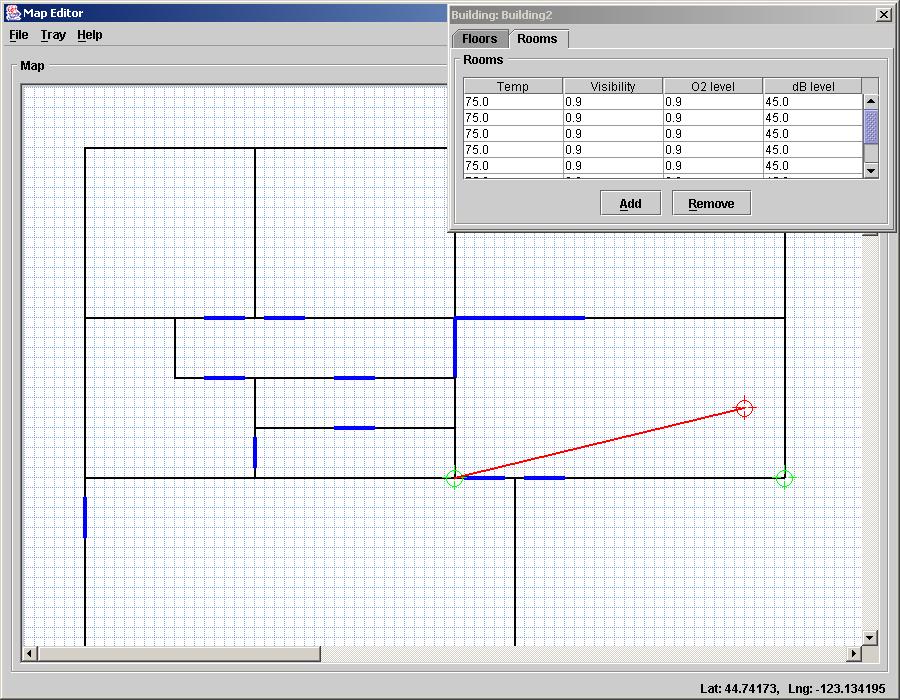 Figure 2. Selecting and moving a wall in iMap. |
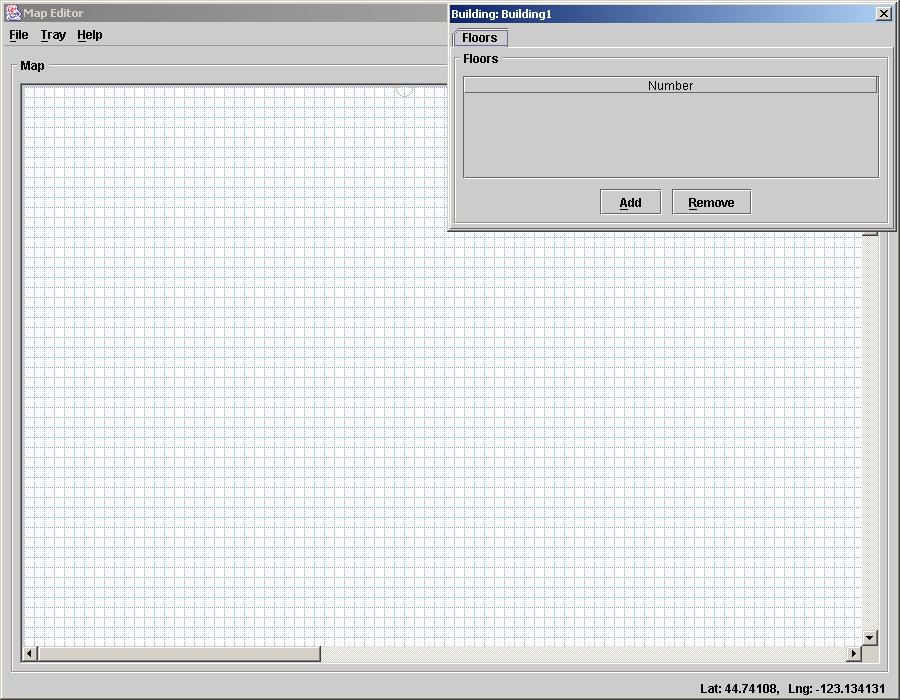 Figure 3. Start a new building map by first adding floors. |
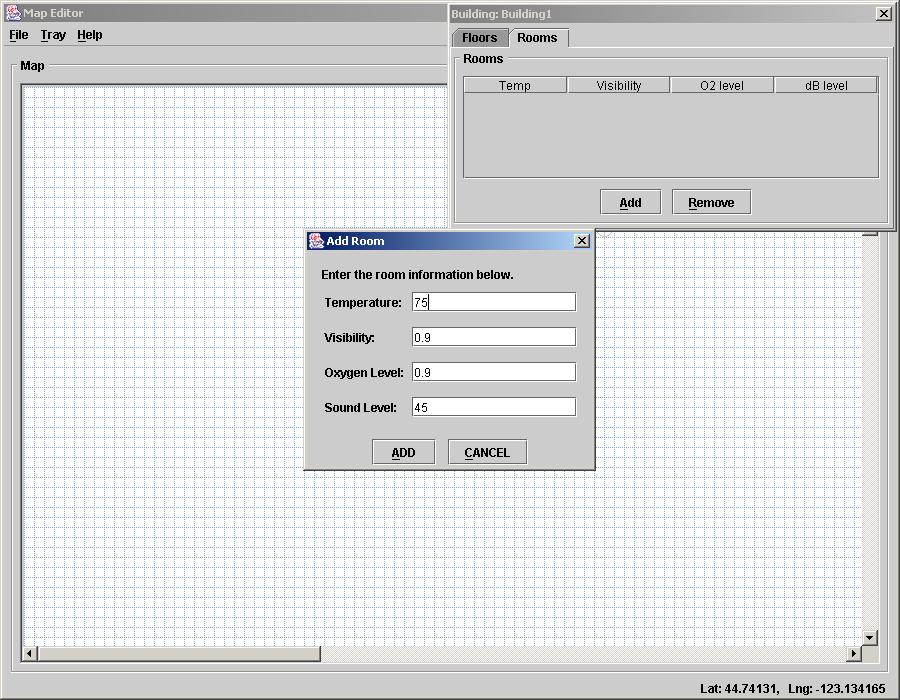 Figure 4. Adding a room to the building. |
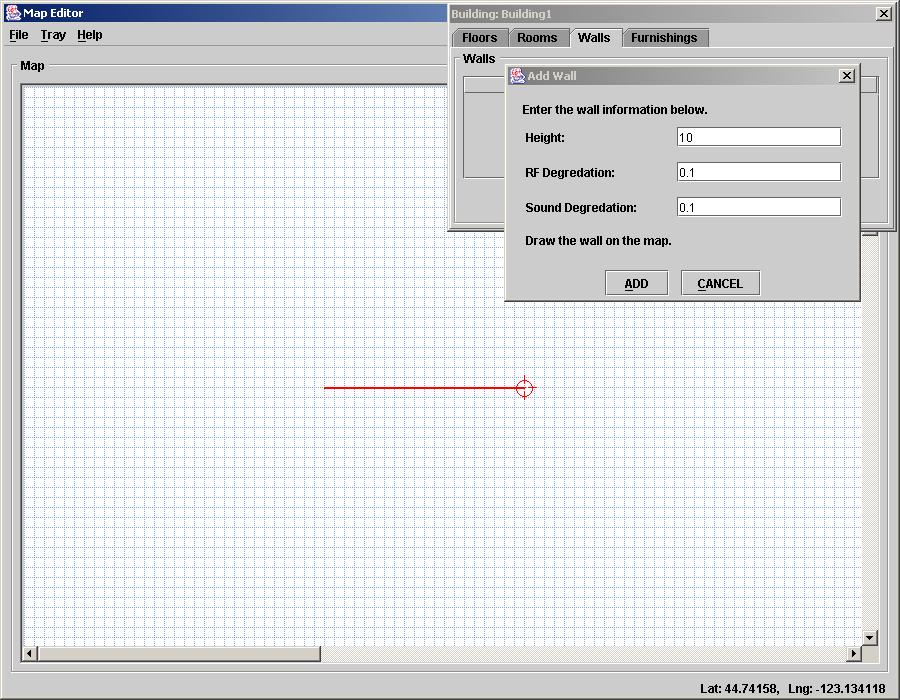 Figure 5. When adding walls, openings, and furnishings you must draw the object. |
|
Figure 6. The structure of the internal representation of a building map. |