|
|
iSIM: iPAQ Simulator
|
|
[Overview] [Requirements] [Download Instructions] [Installation] [Compiling] [Running] [How to Use] [Code Design] [iSIM Homepage] |
|
|
Overview
iSIM is an interaction simulation environment for wireless iPAQ applications. iSIM allows a user to add people with iPAQ devices and wireless access points to a map. People and access points, also called Agents, can be moved around on the map. All agents also have real world GPS positions determined by a map reference points. iPAQ users on the map also just called Users, send GPS coordinates to their corresponding iPAQ device via a port number on the localhost. In turn, iPAQ applications can send messages to other iPAQs via the simulator. All messages that an iPAQ application sends are first routed to the simulator. iSIM, then multicasts the messages to all iPAQs in range. Messages can also use hops to reach more iPAQs. In addition, bandwidth loss is also simulated between iPAQs as a function of the distance and range. |
|
|
|
|
|
iSIM requires java JRE 1.4.0 to run, and J2SE SDK 1.4.0 to
compile. You can obtain these here.
iPAQ applications are built using the Personal Java specification in order to run on real iPAQ devices. Thus all iPAQ applications should run JDK 1.1.8 and compile with JDK 1.1.8, found here.
(Optional) iSIM and iPAQ also include files for compiling and running with Apache's Ant. You can download Ant here. |
|
|
|
|
Download
Instructions
iSIM can be downloaded in two parts:
|
|
|
|
|
|
For Windows: Once you have downloaded the two required zip files, unzip them with a zip utility such as WinZip or PKZip. Proceed the install by unzipping the files into a folder of your choice.
For Unix: Once you have downloaded the two required zip files, open a terminal and type the following two lines: unzip iSIM.zip [-d dir] unzip iPAQ.zip [-d dir] You can optionally use the -d argument to send the unzipped files to a directory of your choice. |
|
|
|
|
|
For Windows: Open a command prompt in the iSIM directory and type compile, or double-click on compile.bat
For Unix: Open a terminal window, go to your iSIM folder and type compile.sh.
Using Ant: From the iSIM or iPAQ directory, open a command window and type: ant compile or for a clean compile: ant recompile |
|
|
|
For Windows: Open a command prompt in the iSIM directory and type run, or double-click on run.bat
For Unix: Open a terminal window, go to your iSIM folder and type run.sh. |
|
|
|
|
|
The iSIM application consists of two main parts: a JFrame containing the map, and a JDialog containing various tools and information. The following steps describe how to perform a variety of tasks in iSIM. |
|
|
|
|
|
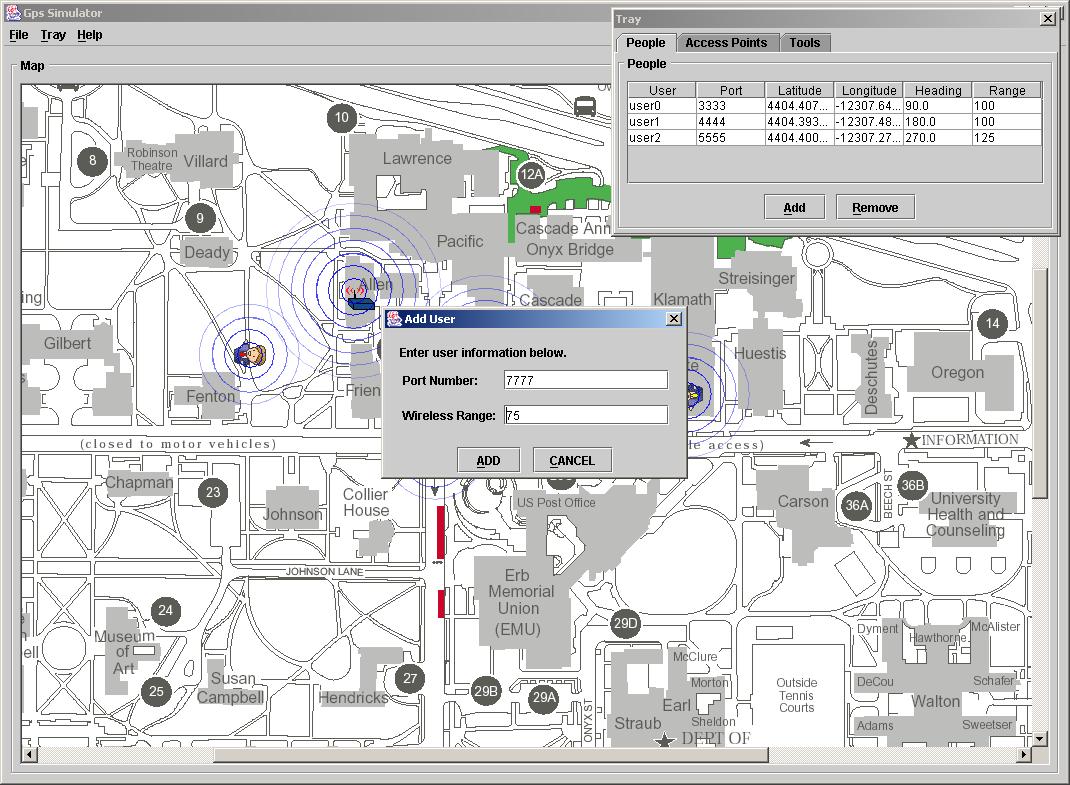
Creating a Person: First go to the Person tab in the Dialog Tray as seen in Figure 1. In the Person tab, click on Add, to add a new person to the simulator map. You will be prompted, as in Figure 2, to type a port number and wireless range. The port number should correspond to the port number being used by the iPAQ application that this person will send messages to. The wireless range is the maximum distance for the wireless signal for this user; this can be any integer you want. |
|
|
|
|
|
|
|
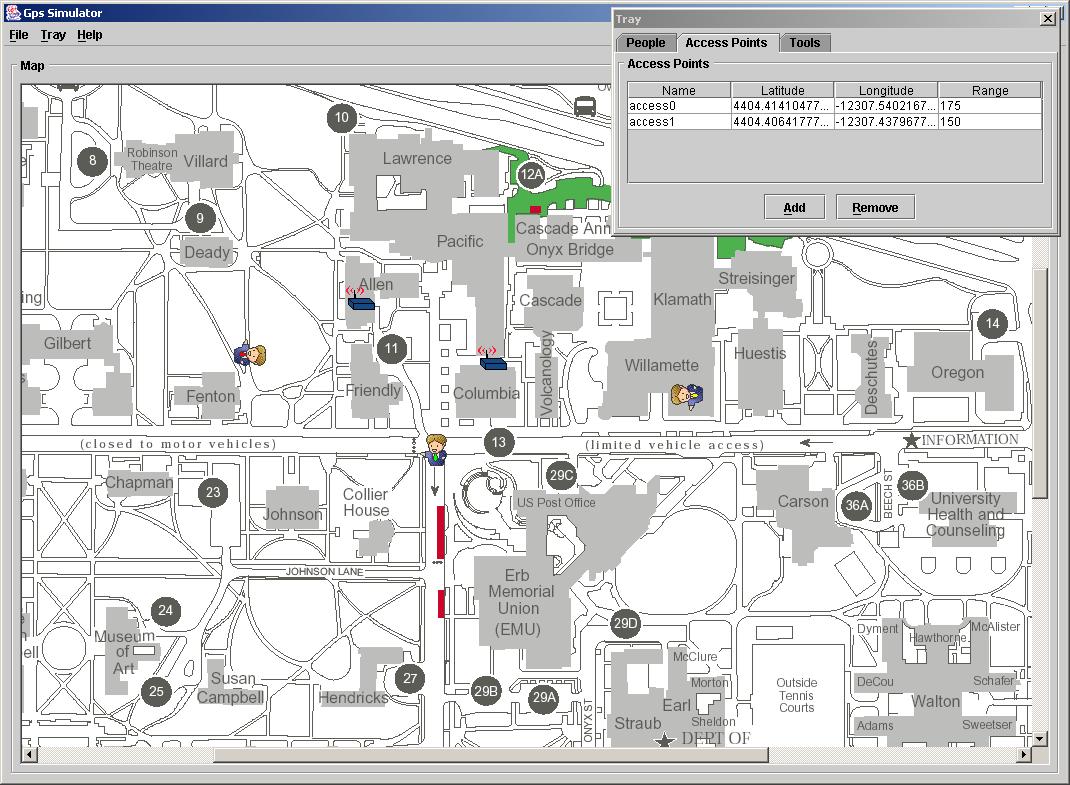
Creating a Wireless Access Point: First go to the Access Point tab in the Dialog Tray as seen in Figure 3. In the Access Point tab, click on Add, to add a new access point to the simulator map. You will be prompted to type a wireless range. The wireless range is the maximum distance for the wireless signal for this access point; this can be any integer you want. |
|
|
|
|
|
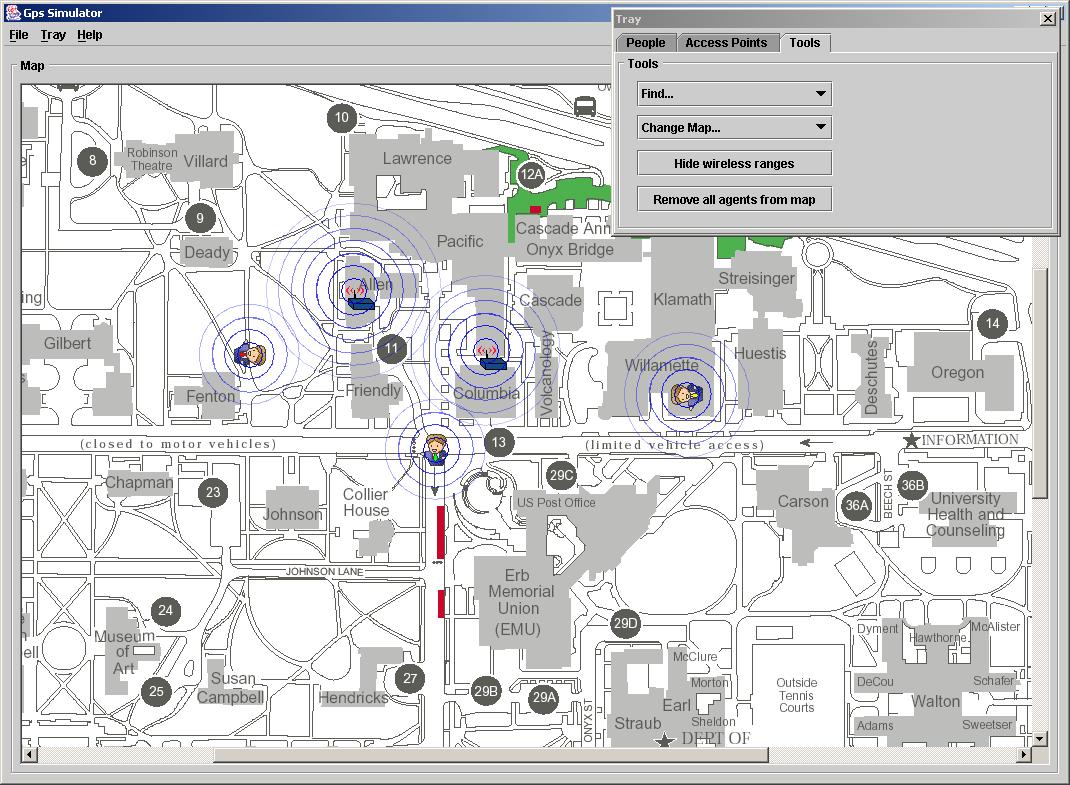
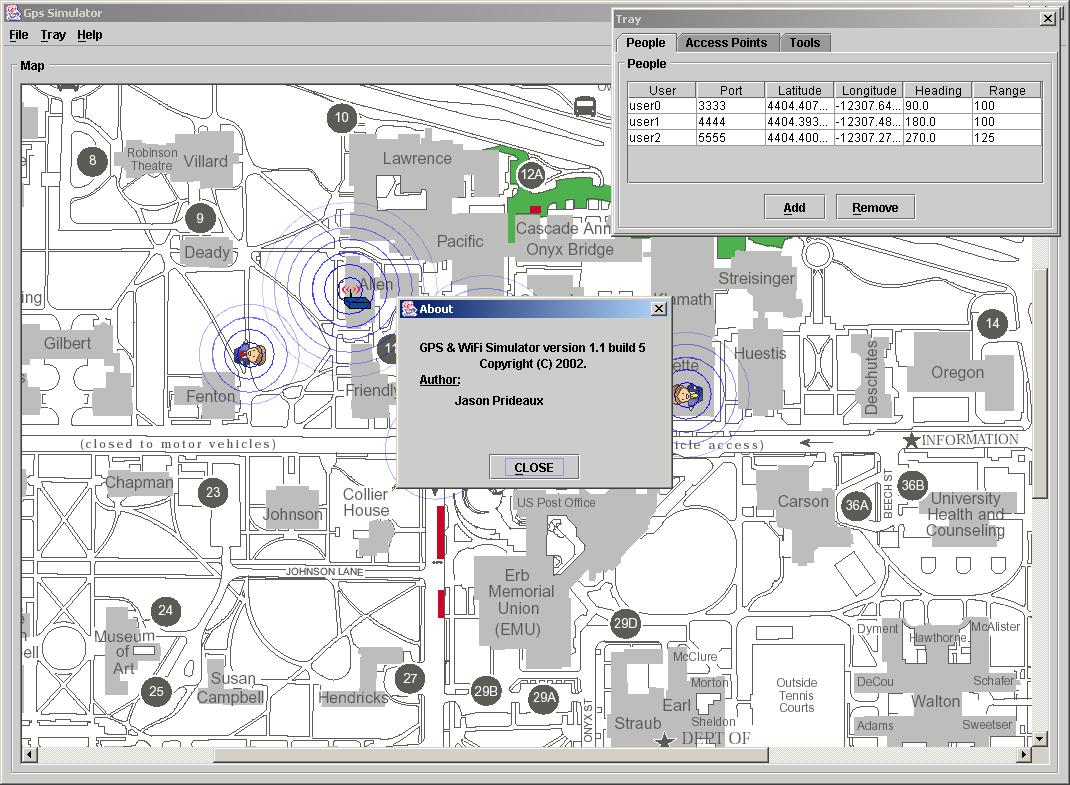
Displaying Wireless Ranges: First go to the Tools tab in the Dialog Tray as seen in Figure 4. In the Tools tab, click on Show wireless ranges to display the wireless ranges, click on Hide wireless ranges to not display them. Displaying the ranges will show blue circles around all agents in the simulator map, with a fading effect to simulate signal loss with distance. In the Tools tab you can also remove all agents, find an agent, and change the map. |
|
|
|
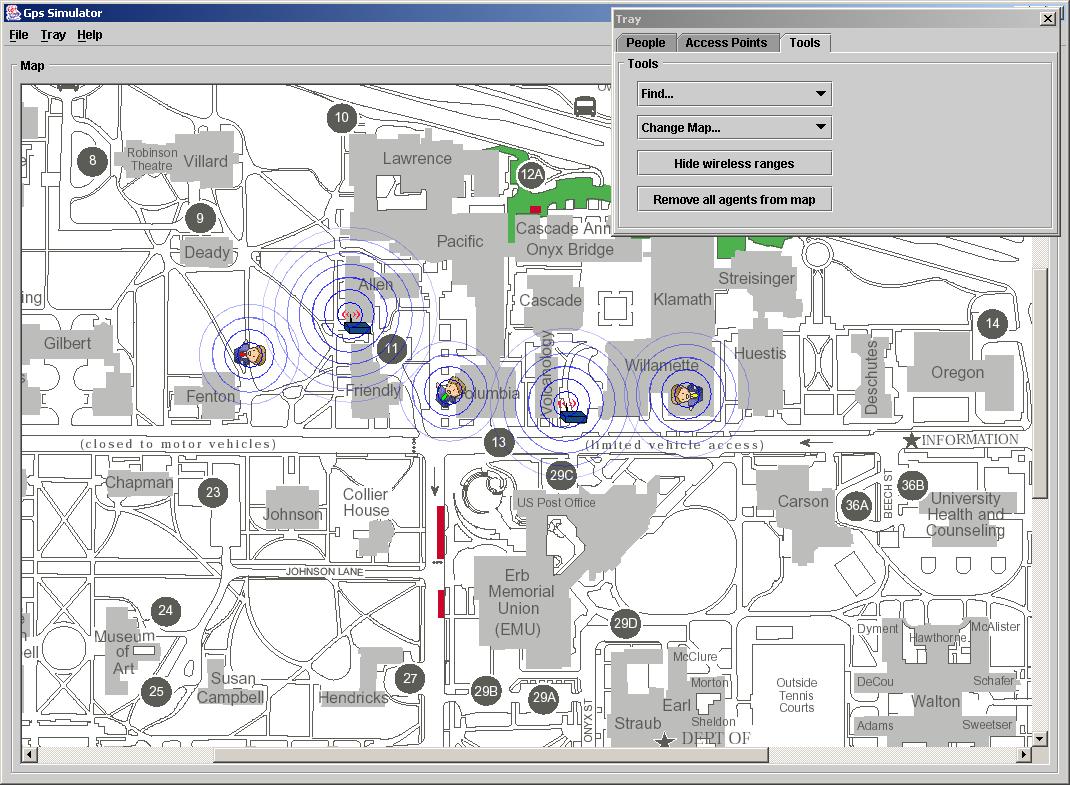
Moving Agents: iSIM sends GPS information to User agents in the simulator, but it also facilitates wireless message passing between Users. To move an Agent, click and drag the Agent around the map. In order to send messages between two Users, make sure that there wireless ranges overlap, or that they can reach each other by traveling through other agents that overlap as seen in Figure 5. |
|
|
|
|
|
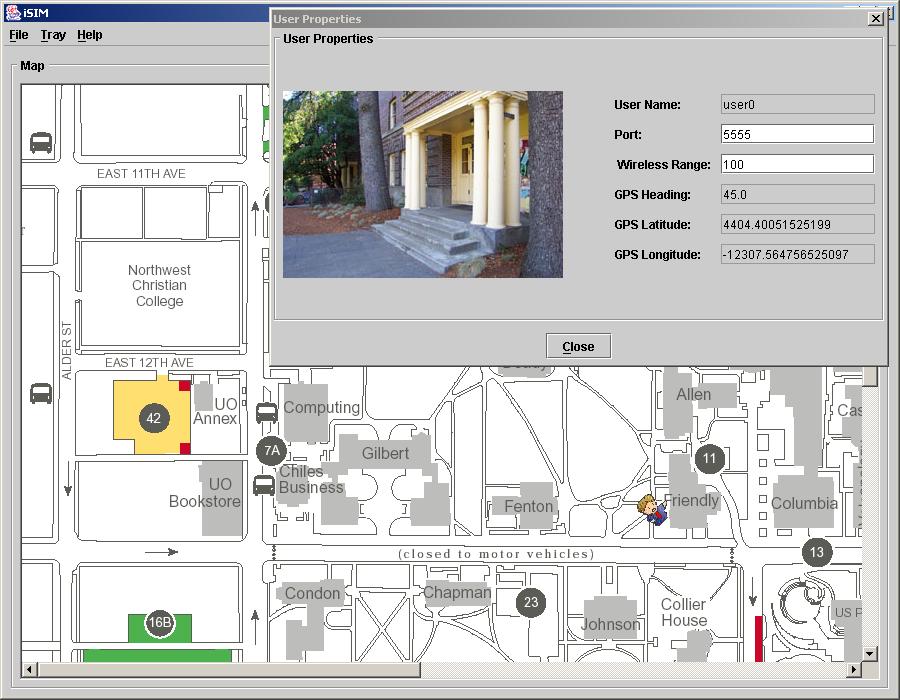
Showing User Statistics/Properties: If want to edit User information, and view more detailed information about the User, double-click on the User's icon in the simulator map. A window will pop-up as in Figure 6 that displays the User's information, some of which is editable. A picture is also displayed that shows what the User would see in the "real world" at that specific GPS location and heading. There are only a few "real world" photos, so if there is no photo for a specific location and heading, you will be notified as in Figure 7. |
|
|
|
|
|
|
|
About page: In the main JFrame, you can click on the help menu and then about to view the about page as seen in Figure 8. |
|
|
Code
Design
and Architecture
iSIM was built using many design patterns and layouts. For information on the design and architecture of iSIM click here. For more information on how the proxy pattern is used in iPAQ applications click here.
Also, for more the latest information and updates about iSIM, see the iSIM homepage. |